
I've recently begun a love affair with chalkboard paint, and I decided to use it on one of my kitchen cabinet doors to create a calendar/grocery list center. Just think - all those cabinet doors! All that beautiful white, wasted space!
Just in case any of you also live in tiny spaces, I thought I'd share my DIY chalkboard cabinet door project with you. Even if you don't want to use the space to organize, it would be so awesome to have a nice, easily changeable canvas to draw on again and again!
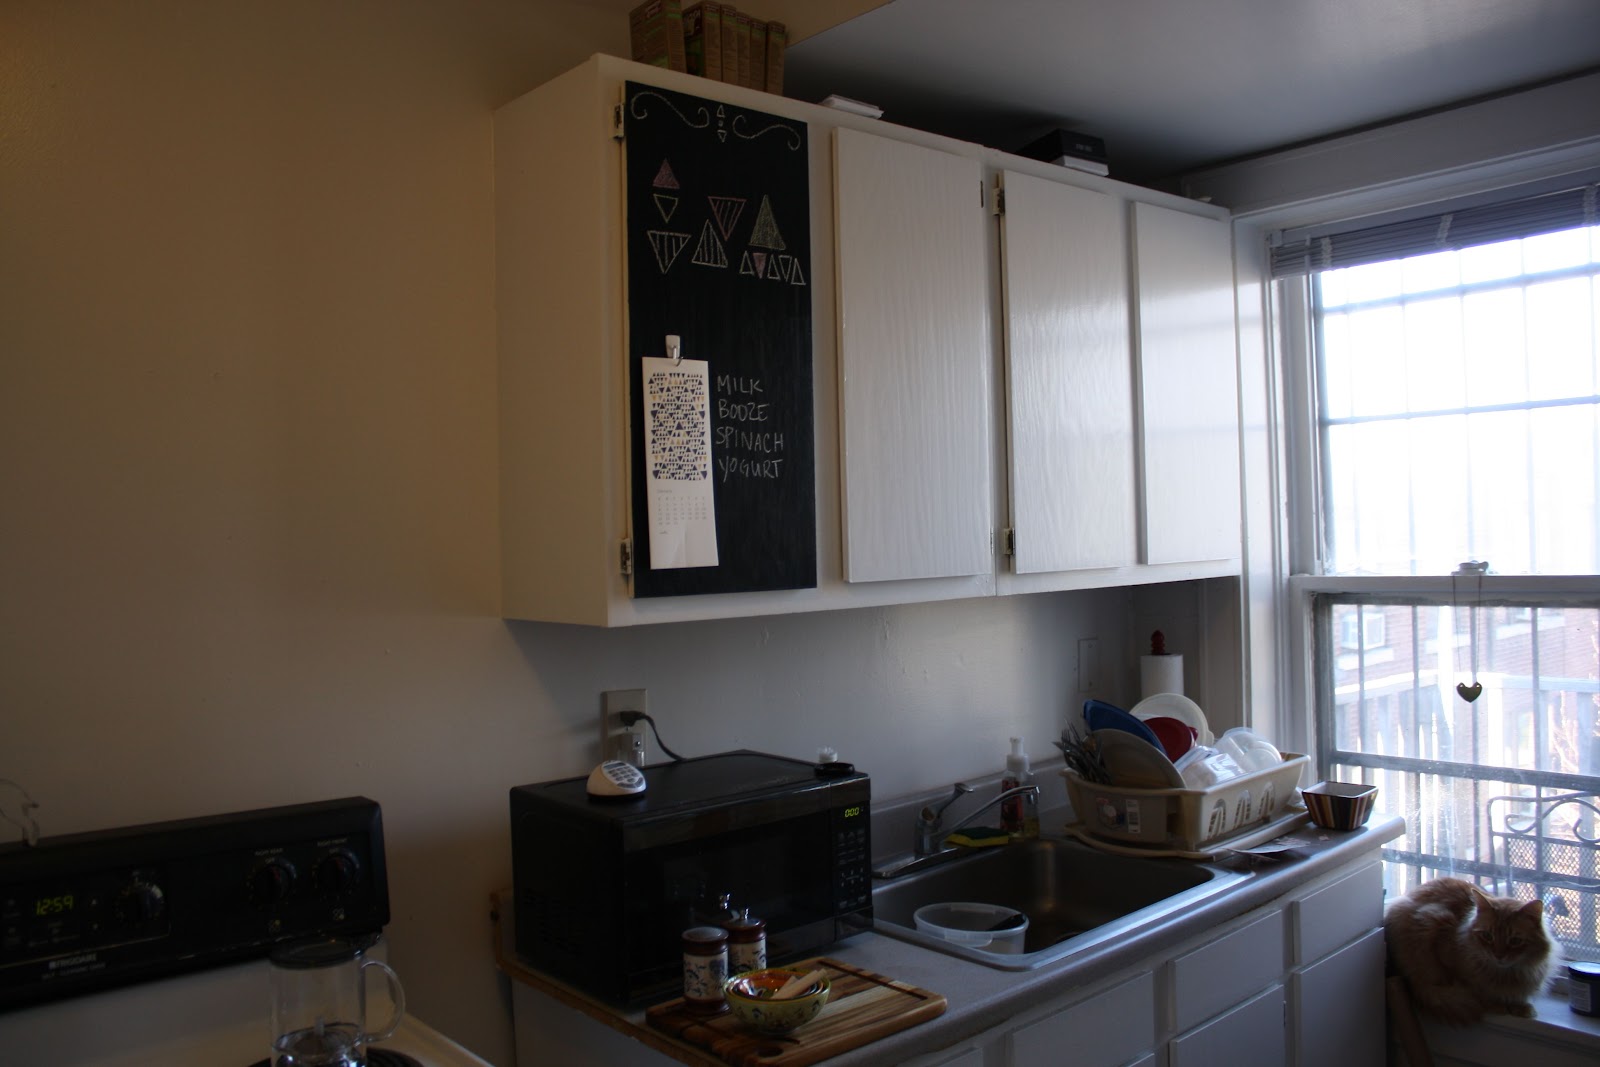
Here's my kitchen before...


And here are the supplies you'll need: sandpaper, chalkboard paint, paint brush, and paper towels. I got my chalkboard paint at a craft store, but you can also find it at home improvement stores like Home Depot or Lowe's. Also, the type of paintbrush you use doesn't matter. I happened to already have the foam head ones, so that's what I used.


Step One:
Place wet paper towels down beneath the area you'll be sanding. Wet paper towels will catch the paint dust much better than dry ones!

Step Two:
Lightly sand the wooden surface you want to paint. Remember - always sand WITH the grain of the wood! You don't need to strip the paint that's on there - you just want to give your chalkboard paint a nice surface to grip.
 |
| Before Sanding |
 | ||
| After Sanding - notice there isn't much of a difference - I just roughed up the white paint so the chalkboard paint would stick. |
Step Three:
Paint as many coats of chalkboard paint as you want. I painted two total, waiting one hour between each coat. Then, I let the paint cure for 24 hours before doing anything else.
 |
| After One Coat - the white paint was still showing through a LOT! |
 | |
| After Two Coats - MUCH better coverage! |
Step Four:
After letting the paint dry thoroughly for 24 hours, lightly chalk the entire surface of the chalkboard, and then wipe off. This will cure the chalkboard paint and make it more erasable - it prevents "ghost words" from remaining after you wipe off the chalkboard!
 |
| Lightly Chalked Surface |
YOU'RE ALL DONE!
Enjoy your new, awesome chalkboard! I think this would be an amazing project for the surface beneath a chair rail in a child's room, as an entire living room wall, over boring box store side and coffee tables.....there are so many possibilities!


Thanks for following along, and I hope some of you decide to give chalkboard paint a try!
-Sarah
Such a neat idea! I think I'll give it a try ;)
ReplyDeleteLife is a romantic poem
Very cute idea! Love the way it turned out :)
ReplyDeleteI love this idea! I cannot wait to have my own home and do this :)
ReplyDeletexo Jennifer
http://seekingstyleblog.wordpress.com